You are not logged in.
- Topics: Active | Unanswered
Pages: 1
#1 2017-03-24 13:12:03
- mondo50m
- Member
- From: Florida
- Registered: 2017-01-29
- Posts: 39
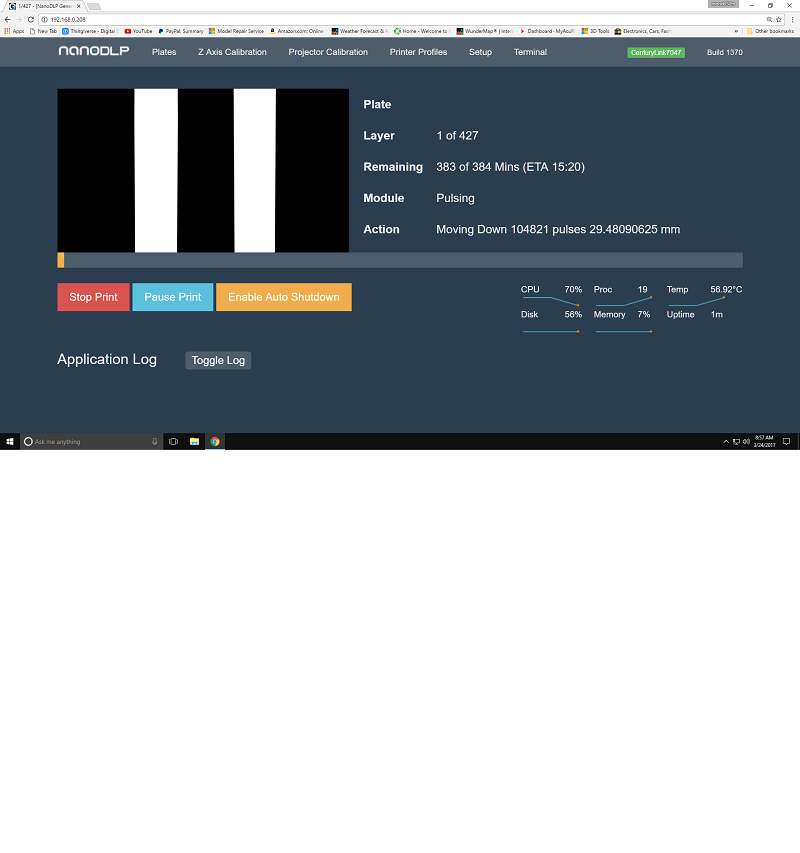
The picture that was needed
This print is supposed to be of an 18mm statue that I took from Thingiverse. The first 2mm should be a circular pad of about 12mm that helps the statue stand upright. All I have been able to get is these Vertical bars or single bar in the center of the display and that is what the printer prints. I see the Nanodlp program has moved up to 1370 from the 1357 I was using. I have even redone my SD card many times trying to eliminate this. When I redo my SD card, I put the Rasbian image on the card first. Then I do an update and upgrade for Rasbian. Then I change the Hdmi lines in the config.txt file to match 800 x 480 to get a full screen. The I go to the download page and copy and paste the Nanodlp program url into the PI3 terminal and wait for the program to finish installing. Run the program on my desktop computer and get the solid bar down the middle..?????? Everthing connects perrfectly, the Z axis runs correctly, everything is perfect except for the image that is displayed for printing.
Milt
Last edited by mondo50m (2017-03-24 13:16:09)
Offline
#2 2017-03-24 13:58:48
- Shahin
- Administrator
- Registered: 2016-02-17
- Posts: 3,556
Re: The picture that was needed
Looks like image focused in specific part of the statue probably x/y resolution is wrong, I have not seen the part so I am not sure. What is your piece size, and x/y resolution settings in nanodlp?
Offline
#3 2017-03-24 14:00:27
- mondo50m
- Member
- From: Florida
- Registered: 2017-01-29
- Posts: 39
Re: The picture that was needed
So how does one determine the x/y resolution setting?
Offline
#4 2017-03-24 14:16:19
- Shahin
- Administrator
- Registered: 2016-02-17
- Posts: 3,556
Re: The picture that was needed
Go to the projector calibration page, click on boundary image. Measure width of image on bottom of your tank.
xy_resolution = width_of_image_in_mm * 1000 / projector_pixel_in_width
For example of your projector image width is 800px and you have measure 80mm
100micron = 80mm * 1000 / 800px
Offline
#5 2017-03-24 14:18:21
- mondo50m
- Member
- From: Florida
- Registered: 2017-01-29
- Posts: 39
Re: The picture that was needed
Does it matter that I am not using a projector?
Offline
#6 2017-03-24 14:25:17
- Shahin
- Administrator
- Registered: 2016-02-17
- Posts: 3,556
Re: The picture that was needed
No Just measure width of any image source you are using. If it is LCD you probably could find width in its spec.
Offline
#7 2017-03-24 14:28:11
- mondo50m
- Member
- From: Florida
- Registered: 2017-01-29
- Posts: 39
Re: The picture that was needed
I will give this a try, thanks.
Offline
#8 2017-03-24 19:45:50
- mondo50m
- Member
- From: Florida
- Registered: 2017-01-29
- Posts: 39
Re: The picture that was needed
Ok....GOT IT!!!!! Definitely not alone though. I am using a 10 watt led on an aluminum heat sink and fan. 10 watts is way to much...I need to dial it down a lot. Normally runs on 9.1 to 11 volts I am down to 7.6 volts and it still is hardening the whole plate. Now, I am in the process of adding a relay to turn the light on and off, but I feel it will still harden the whole vat. What I think I need to do next is to increase the distance from the vat that the light is. Right now it is about 1 inch from the vat. Need to get on the laser and cut out a new case for everything. All in time. I will keep working on the exposure time as it is for now. Need to draw up a new box and all. Also have purchased a new lead screw and so on. Will keep posting until I am thrown out (I ask a lot of questions).
Milt
Offline
Pages: 1